We know that lunch boxes need to be quick easy and healthy. So here are the quickest recipes featured on Facebook over January.
3 Ingredient Pizza base (gluten free)
This Gluten Free 3 ingredient pizza base has NO cauliflower (because although cauliflower pizza bases are pretty darn tasty, they are a lot of work and if you let it slip what the secret ingredient is, you could be facing a mutiny).
This recipe was found at the Big Man’s World site.  INGREDIENTS
2 large eggs
1 large egg white
2 T coconut flour, sifted
Optional spices- mixed herbs, red pepper flakes and sea salt
- Cover a frying pan with oil/butter and allow to heat up on low.
- In a large mixing bowl, combine the eggs/egg whites and whisk until opaque. Sift in the coconut flour and whisk very well until clumps are removed. Add in the spices of choice and sea salt and whisk once more.
- Once frying pan is hot, pour the “pizza” mixture in the pan and ensure it is fully coated. Cover the pan with a lid/tray for 3-4 minutes or until bubbles start to appear on top. Flip, cook for an extra 2 minutes and remove from pan.
- Allow to cool slightly before topping and using as a pizza base or even eating on it’s own.
- The side which was facedown for the shorter amount of time is best to be used for topping.
- These work well in batch cooking- It’s best made in groupings of 4 and using 1/2 cup of coconut flour sifted.
- For a thin and crispier base, go the full egg whites.
- For a firmer, thicker base, go for the first version.
2 Ingredient Pizza Base
 This super quick pizza base works fantastic for mini pizzas. It might not be wheat free or dairy free but super quick is no exaggeration. This is a Lets Party Additive Free recipe.
INGREDIENTS
1 cup natural yoghurt
2 cups self raising flour
INSTRUCTIONS
1. Mix the yoghurt into the flour and knead gently.
2. Roll out and put on one (for thick) or two (for thin) pizza trays (the ones with the holes in the bottom are great).
3. Top with your favourite pizza toppings.
4. Bake in a hot oven… about 210°c for ten minutes or until brown.
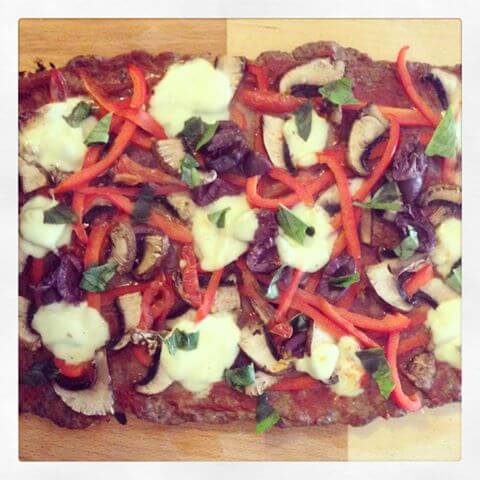
Meatzza
Gluten Free pizza with a twist….Meatzza uses meat as the base and all your favourite toppings still on top!. It tastes amazing. Nothing complicated about it at all. What a great way to feed them a lunch rich in protein for busy brains and bodies.
- 1 garlic clove, peeled & crushed
- 500g beef mince (or chicken or turkey)
- 1 large egg or 1 tbsp psyllium husk
- 1 tsp of mixed italian herbs
- ½ tbsp salt
- pepper to taste
- sauce
- sliced red capsicum
- sliced field mushroom
- semi dried tomato
- olives
- bocconcini
- fresh chopped basil
- Preheat oven to 230°C fan forced and line large baking tray with baking paper
- Mix garlic, egg, mince, herbs, salt and pepper in a bowl until combined.
- Spread mince out over whole baking tray, it will be very thin. Use your fingers to press it to the edges.
- Bake in oven for 12 min.
- Remove meatza from oven, and turn oven up to full heat.
- Skim and drain fat if there is any.
- Add toppings to meatza base and bake for 3-5 minutes or until toppings are cooked.
 Additive Free Chicken Loaf
 Additive Free Chicken Loaf
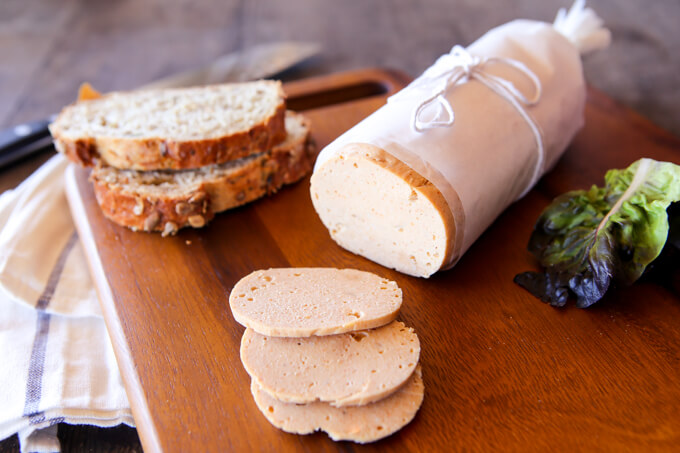
Homemade deli meat without the nasties.This is a SkinnyMixers thermomix recipe
- 500 g chicken breast, cubed small
- 10 g olive oil
- 1 tsp garlic powder
- 1 tsp paprika
- 1 tsp salt
- 1 tsp maple syrup (optional, or other liquid sweetener)
- 2 large pieces of BPA free gladwrap
- Add all ingredients to mixer bowl, blend for 1 min 30 sec/speed 5/MC on.
- Scrape mixture out onto piece of gladwrap. Twist the ends and roll tight, squeezing as much air out as possible. Wrap securely with second piece of gladwrap. If you need to see a visual guide watch: http://youtu.be/s1FNe9iYRUM.
- Wash bowl roughly and add 1000g water. Put your deep steaming tray in place and put chicken roll inside. Steam for 35 min/steaming temperature/speed 3. Internal temperature should reach 74 degrees for doneness.
- Allow the roll to rest for 10 mins before refrigerating for atleast 2 hours. Unwrap and slice as needed. Keeps for 3-4 days in an airtight container in the fridge and can be sliced and frozen.
If you dont want to steam in plastic, you can use baking paper, cheesecloth and string.
Feel free to experiment with different meats and flavourings.
Lettuce Leaf Wrap
Everything tastes better in a Lettuce leaf. It really does. Try it and see!
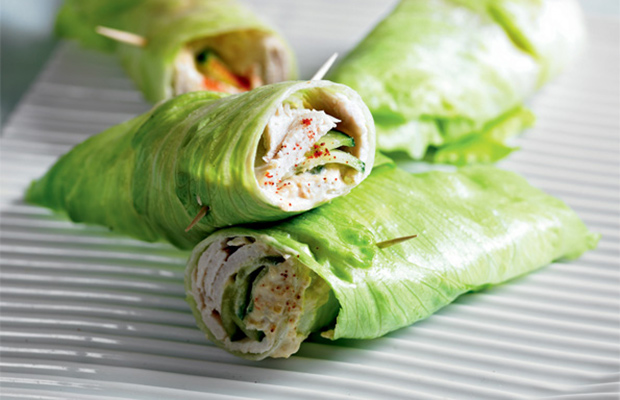
Tip: Cos lettuce works because of the natural scoop shape in every leaf, but you’ll need to scoop the filling into the leaf before eating. Iceberg leaves can be larger in size, making it possible to roll and secure with a toothpick
Use these fabulous fillings:
Potato salad
Chopped cooked sausage and diced tomato
Leftover crumbed fish or chicken and mayo
Chicken salad
Bean salad
Taco mince
Preservative free ham & avocado
Mashed egg and mayo
Satay chicken (made with cashews, if school permits)
San choy bow mix
Egg Wrap
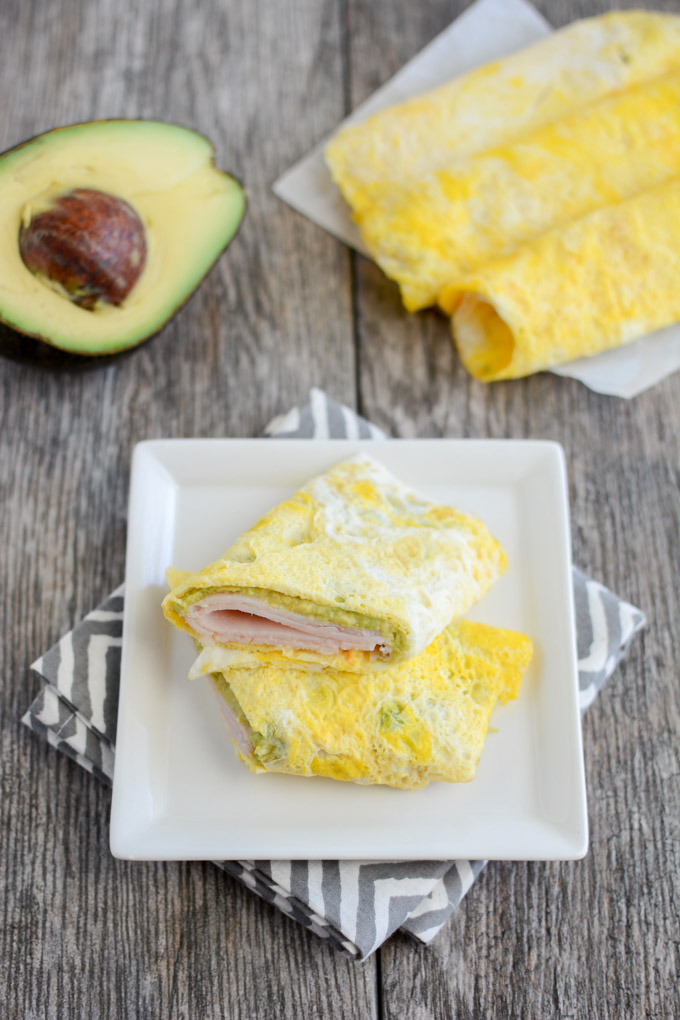 Egg Wraps! Gluten Free, Dairy Free, FAILSAFE
Make a 2 egg omelette in a small frypan, so your omelette has a nice round shape. You will now have a wrap that can be filled with assorted ingredients depending on dietary restrictions. Popular ideas are savoury mince/ roast meats and lettuce/ salad/ tuna and salad. This recipe is by the Lean Green Bean
INSTRUCTIONS
- Heat a small frypan over medium heat. Grease with butter or oil.
- In a bowl, crack one egg and mix well with a fork.
- Pour into a hot pan and tilt pan to spread egg into a large circle on the bottom of the pan.
- Let cook 30 seconds. (Sprinkle with seasonings if desired)
- Carefully flip with a large spatula and let cook another 30 seconds.
- Remove from pan and repeat with as many eggs as desired.
- Let egg wraps cool slightly (or fully), top as desired with fillings, roll and serve warm or cold.
Black Bean Chocolate Cake
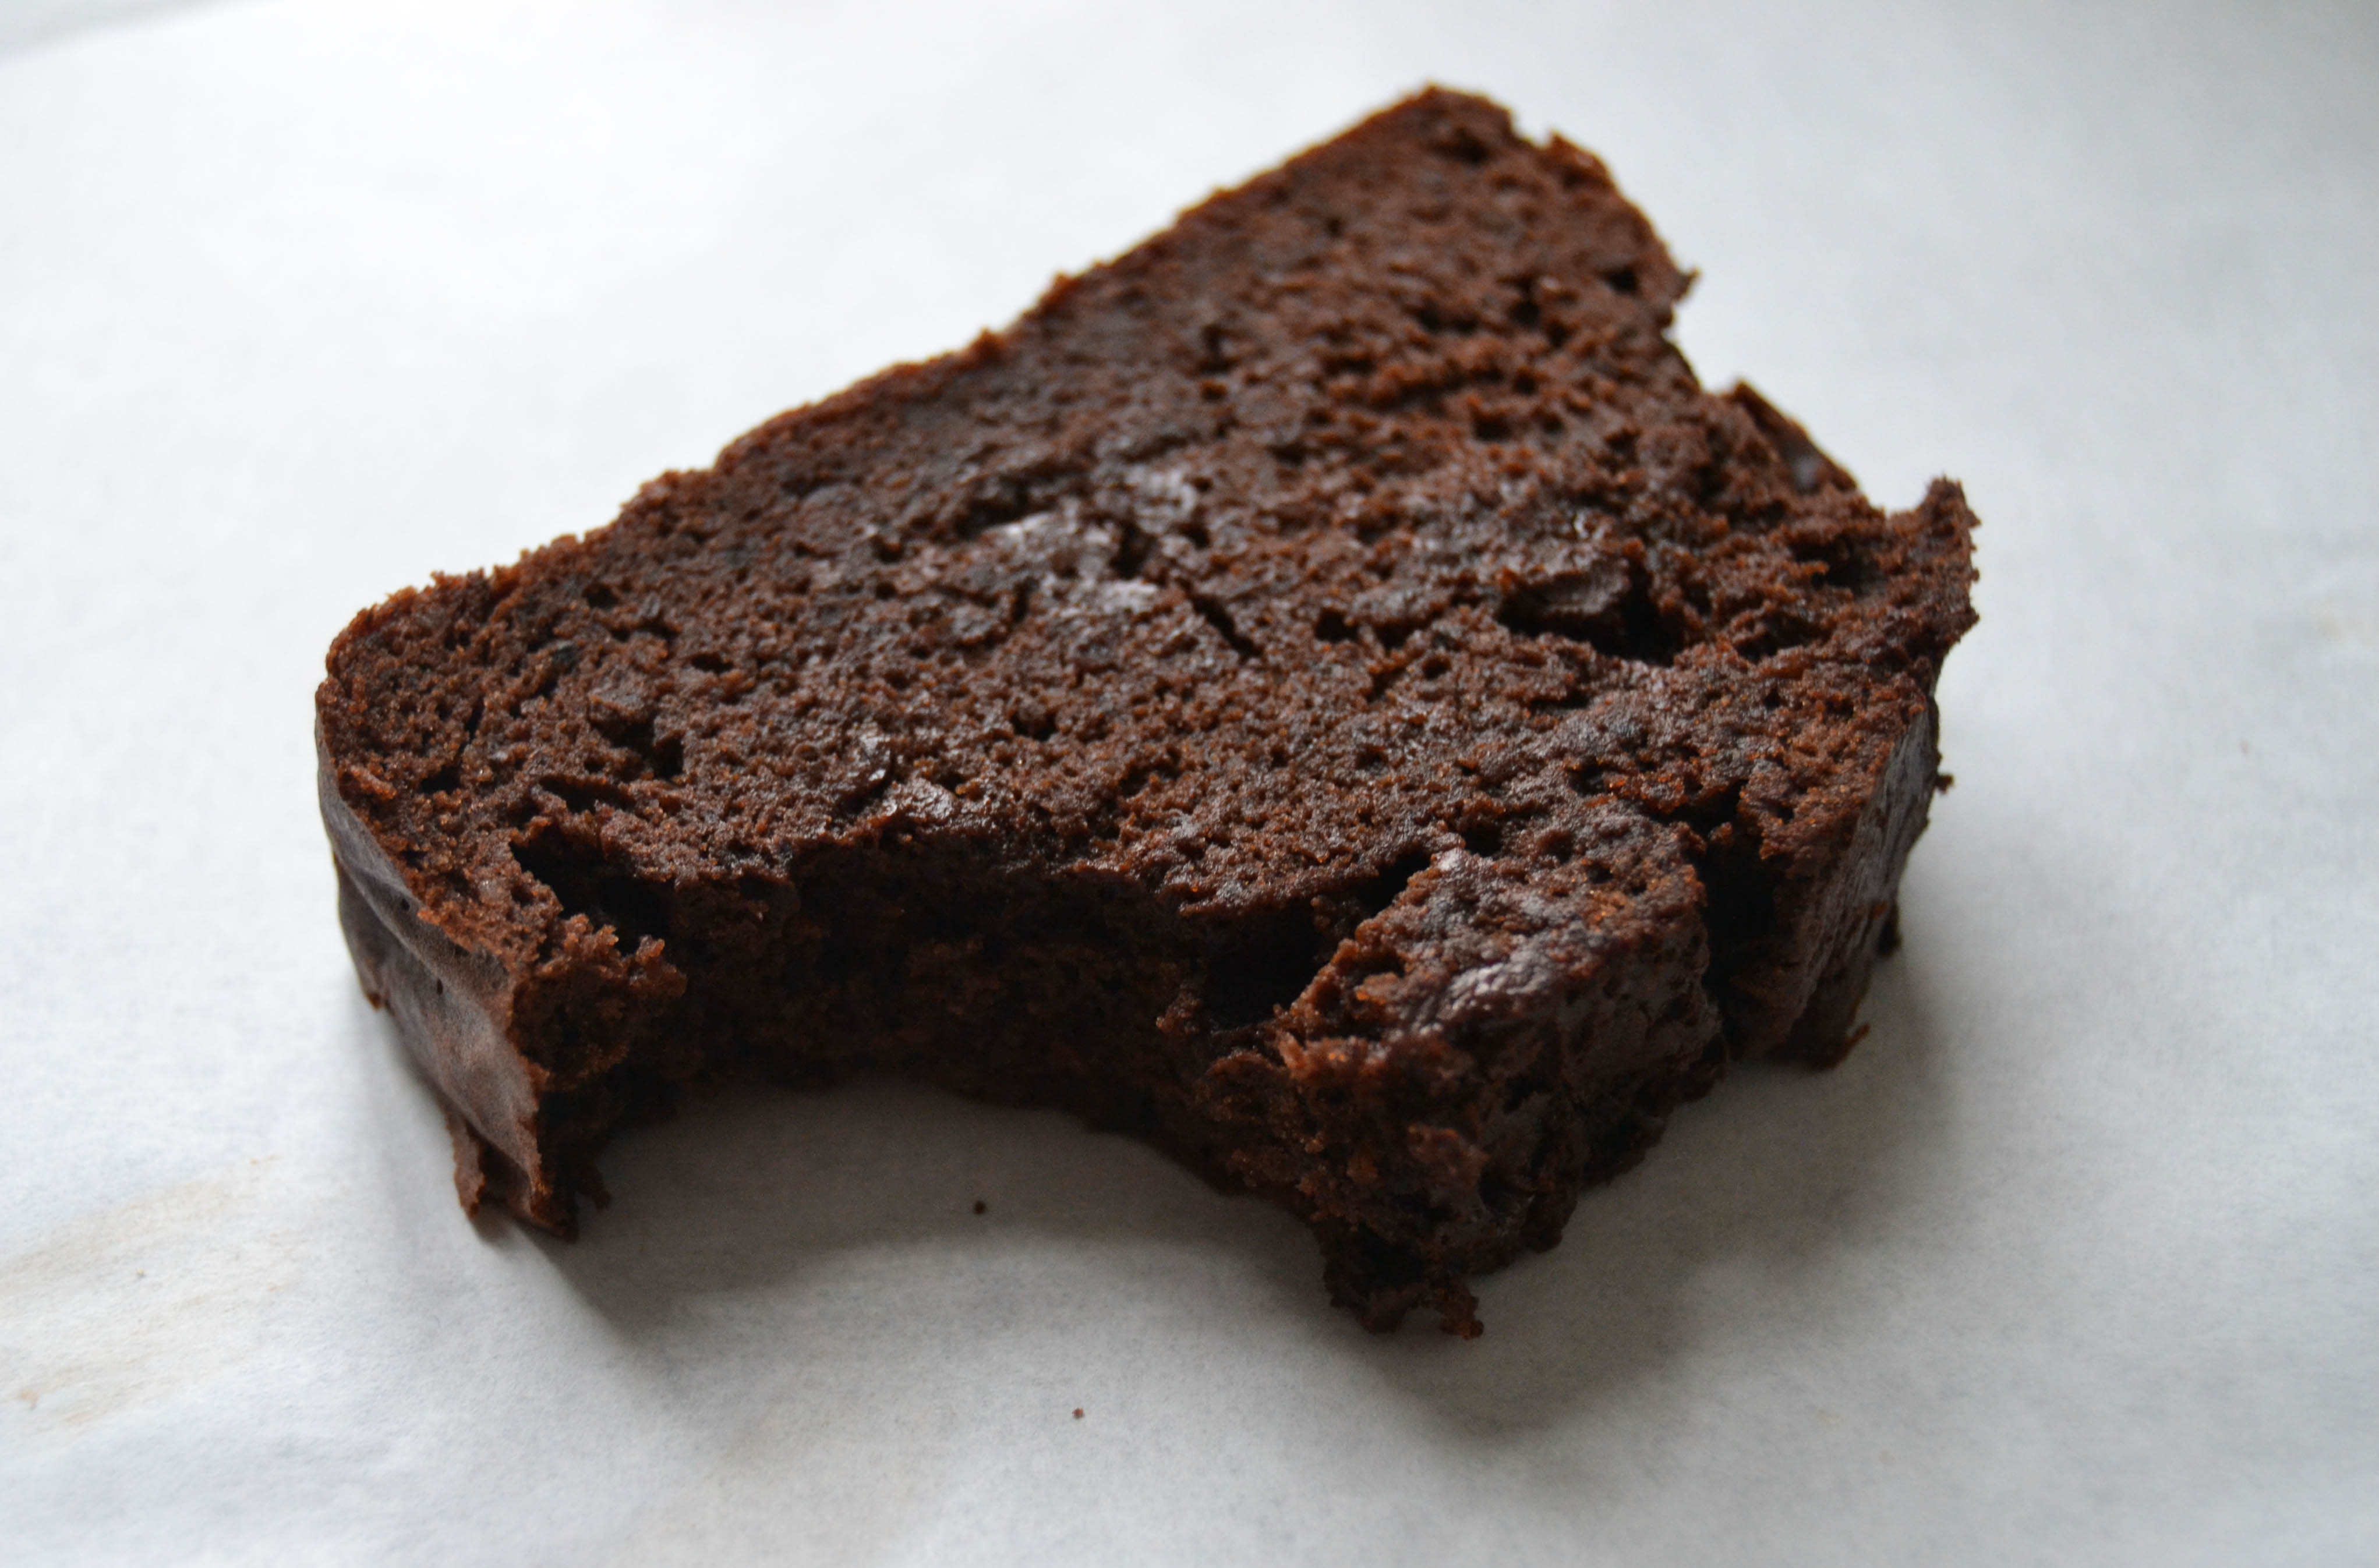
In the words of one of my besties… ‘ Best chocolate cake – ever! It tastes great, is soft and fluffy, and is good for you! What more could you want???’ I can’t really say any more. This is an adaptation of a recipe by A Tasty Love Story
Tip: Gluten Free and can be made dairy free- substitute butter for Nuttelex.
INGREDIENTS
1 can of unseasoned black beans
5 large eggs
1 cup sugar
1 tablespoon pure vanilla extract
1/2 teaspoon sea salt
6 tablespoons unsalted organic butter (or Nuttelex for dairy free)
6 tablespoons unsweetened cocoa powder
1 teaspoon baking powder
1/2 teaspoon baking soda
1 tablespoon water
- INSTRUCTIONS
Preheat oven to 180C. - Blend everything in the blender, like this: Rinse the
beans and put them in the blender. - Add 3 eggs, sugar, vanilla and salt. Blend on high until it’s completely smooth with no lumps at all.
- Add butter, blend for 1 minute. Add 4th egg, blend for 1 minute.
- Add last egg, blend for 1 minute.
- Add cocoa powder, baking powder, baking soda and water, blend again until completely mixed through, about 1 more minute.
- Pour into prepared pan and bake for 40-45
minutes.
Tip: I used cacao powder and reduced the sugar to 3/4 cup as cacao is milder tasting than cocoa.
Easy Vegan Oreos

I like cooking, but the word EASY in a recipe will always catch my eye. Especially when it’s as yummy sounding as this! Dairy free too. Even better. This is a Feasting On Fruit recipe.
INGREDIENTS
1/4 cup + 1 tbsp maple syrup
1/2 cup cacao powder
1/4 cup + 2 tbsps brown rice flour
1 can of full fat coconut milk chilled overnight
2 tbsps icing sugar
- Preheat the oven to 180C
- Combine all the ingredients. Mix to form a thick cookie dough.
- Roll into 16 balls. Arrange on a pan (or two pans) lined with baking paper. Cover with a piece of baking paper and flatten with the bottom of a cup or jar to about 1/2 inch thickness
- Bake for 8-10 minutes at 180C.
- Let them cool, they will become crispy as they cool.
Filling
- Scoop out the cream from the can of coconut milk leaving behind the liquid. Add the icing sugar and whisk till smooth and creamy.
- Spoon onto your cookie, smush, and enjoy! Keep any leftovers in the fridge for up to 3 days.